
After setting up VM the next important thing you may need to do is Enabling the IIS in Windows Server and provision it in Azure Portal to access it from anywhere.
This article will help you to achieve it.
Enable IIS in VM Server
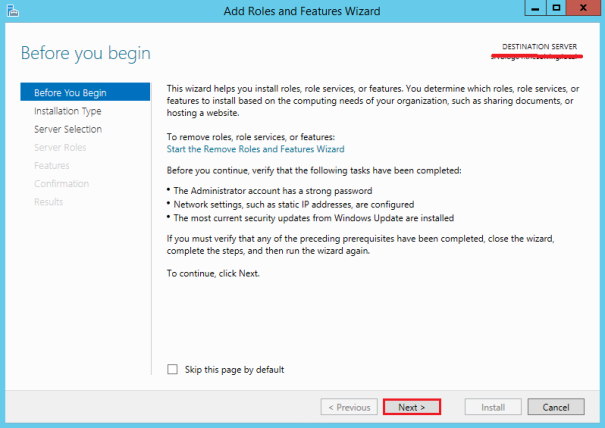
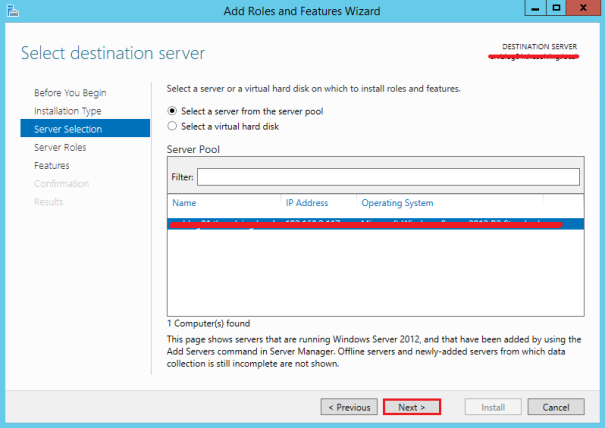
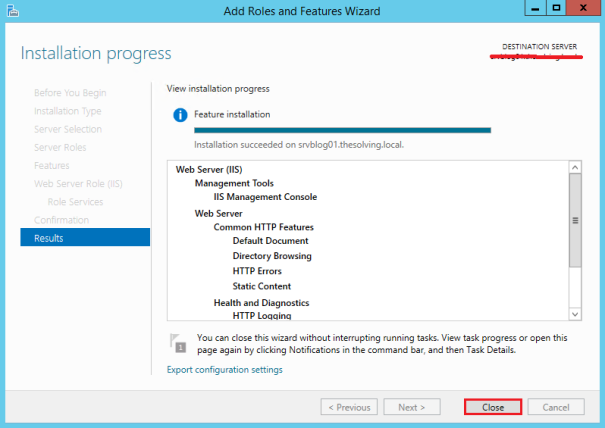
The below screen shots will help you to configure IIS in VM Server.


Installing IIS Features on Windows 7
The following are the steps to install IIS including HTTP activation in VM Server
- On the Start menu, choose Control Panel, and then choose Programs.
- Under Programs and Features, choose Turn Windows features on or off.
- In the Windows features list, expand Internet Information Services, and then expand World Wide Web Services.
- Expand Application Development Features, and select the following features:
- .NET Extensibility
- ASP.NET
- ISAPI Extensions
- ISAPI Filters
- Expand Security, and then select the following features:
- Request Filtering
- Windows Authentication
- Expand Common HTTP Features, and then select the Static Content feature.
- To install Internet Information Service (IIS) Manager, under Internet Information Services, expand Web Management Tools, and then selectIIS Management Console.This step is optional. You use Internet Information Service IIS Manager to manage local and remote web servers and sites.
- Choose the OK button to complete the installation.
- In the Windows features list, expand Microsoft .NET Framework, and then select Windows Communication Foundation HTTP Activation.
- To verify that the web server has been installed correctly, start your browser, and then type http://localhost in the address.The default web site opens and should display an IIS 7 image. If the IIS 7 image does not appear, then verify that you have configured static content on IIS, as described in step 6.
After configuring IIS in VM the next challenge would be to access the hosted sites in IIS from outside of VM.
Login to new Azure portal and choose VM

There are 2 options to create a new port either using an existing ‘Network Security Group’ and add an In-Bound Rule or create a new ‘Network Security Group’ and add new rule into it.
For creating a new rule choose Add +New option from portal as showed below.

After creating new ‘Network Security Group’ you need to create an Inbound Rule.
Choose Inbound Security Rules from Settings and fill new port value as showed below:

Choose Protocol TCP and enter Destination Port as 80 and Save

Click Save.

Now you have created the HTTP default port 80 allowing to VM as inbound rule.
Happy Programming
Technical Lead for Microsoft Technologies especially in Azure, ASP.Net and in Angular JS.

Great
LikeLiked by 1 person
🙂
LikeLike
Excellent.Thanks for sharing the steps and the attention to detail.
LikeLike